Vizrt Artist User Interface
The training videos in this module will introduce you to a different part of the Vizrt Artist user interface. These videos are meant to clearly and quickly give an overview of the different parts of Vizrt Artist user interface. The videos contained in user interface training are comprised of fundamental things you will need to know in order to find and create assets, navigate around the software and do basic functions in Vizrt Artist.

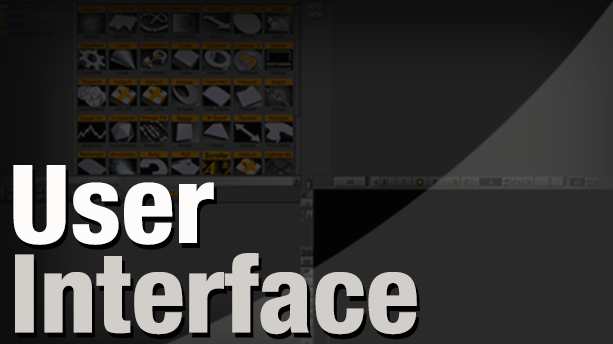
Vizrt Artist user interface
This video shows you parts of the user interface of Vizrt Artist. It explains the 4-quadrant system of the Vizrt Artist software and various tabs and drop downs through out the user interface. There is an explanation of the container icons and editing windows.
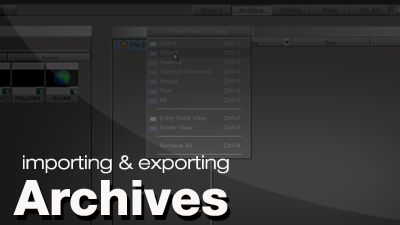
Archive
This video shows you how to archive stuff in Vizrt Artist. Whether you need to archive scenes, images, objects or folders this video will show you all the options of how to archive elements in your server. You can use archive files to back up all of your projects or to send projects back and forth. A useful feature which packages up all your elements in a scene and creates a compressed file for backup. The file extension for an archived project is .via in Vizrt Artist 3.x and .eva for Vizrt Artist 2.8.
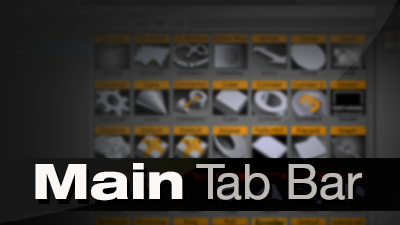
Main Tab Bar
The Main Tab Bar on Vizrt Artist contains “tabs” that navigate through different windows. These windows allow the user to access tools, controls, settings and functions available within the software. Watch this video to learn more about the Main Tab Bar in Vizrt Artist 3.x.

Render Window
You can work with primitives right with in the Render Window. Right click on an object in the window to expose more options.
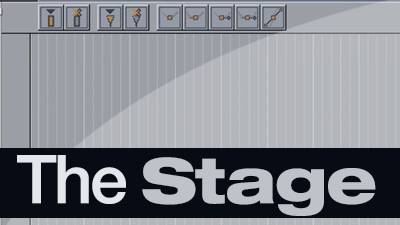
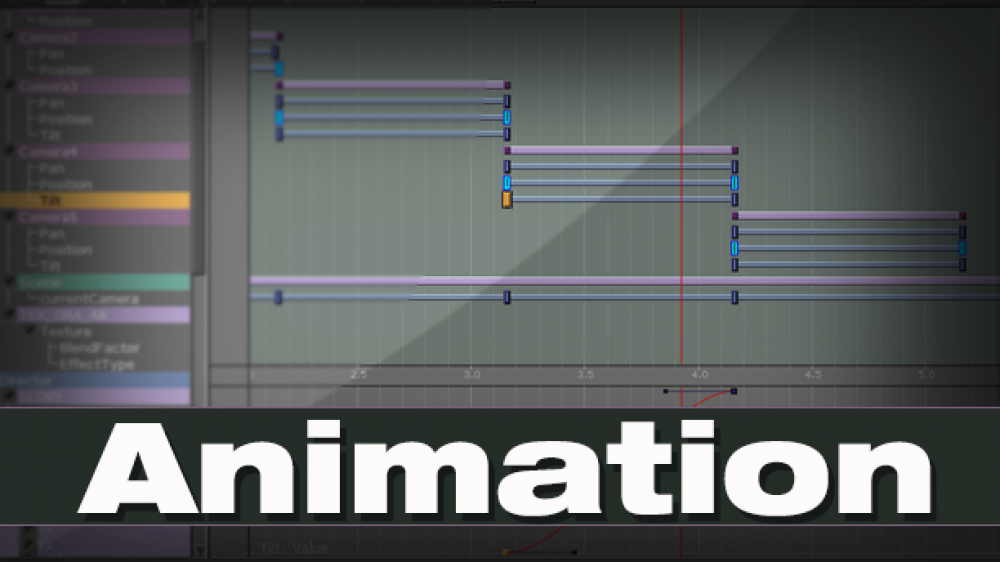
The Stage
The Stage tab is found on the main tab bar. It is here, in the Stage, that you can access your animations and key-frames. You can also enter the stage by clicking on the animation icon (spoked wheel) on a container.
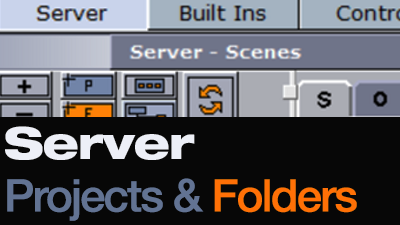
Server Projects & Folders
To organize your database in the Server window within Vizrt Artist, one will need to create Projects and Folders. A Project folder is created by clicking or dragging the blue (P) icon into the left column of the Server window. A folder is created by clicking the orange (F) icon to create a Folder within the Project Folder.
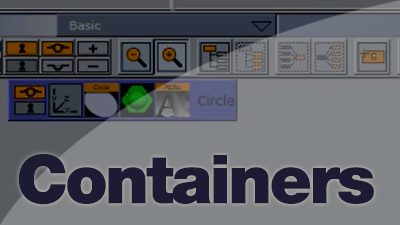
Containers
Within Vizrt Artist allow the user access to various windows within the user interface. Containers hold elements which allow one to create a parent/child or (container/sub-container relationship). By clicking on various icons of the container a user can enter different windows of the user interface of the Vizrt Artist software
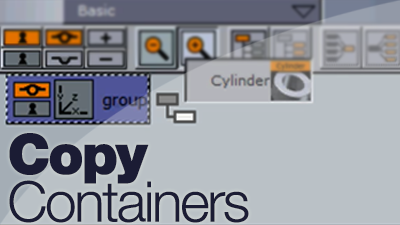
Copy Containers
Another important aspect in the Vizrt Artist user interface is working with containers. This video shows you different ways to copy containers and also the different options to rename containers in the scene tree window.
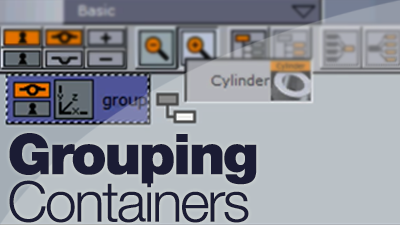
Grouping Containers
You can group containers with in containers or make them sub-containers of one another forming a parent-child relationship. This video shows you exactly how.
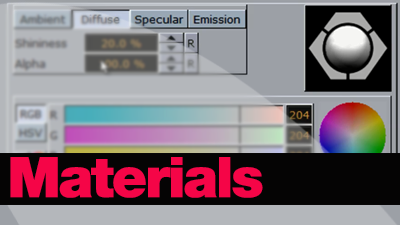
Materials
Learn how to create a material from scratch. Adjust the settings within the materials and set the color range for the four material options.
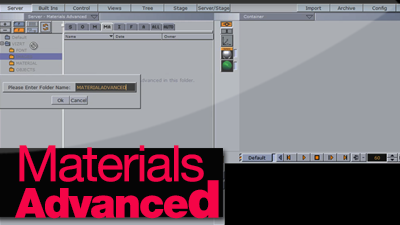
Materials Advanced
An advanced material is a combination of a material and an image (texture). Merge them together and you can save them in the server.
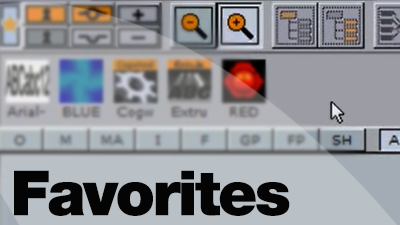
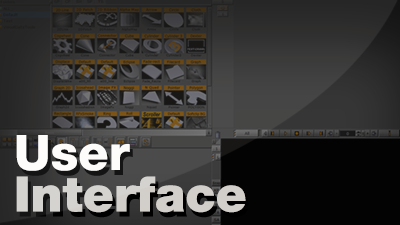
Favorites
This sometimes hidden window in the Vizrt Artist user interface is a useful feature when you need to keep important assets in one quick accessible place. This window lets you save your favorite elements so you don’t have to search for them every time. This video tells you how it works.


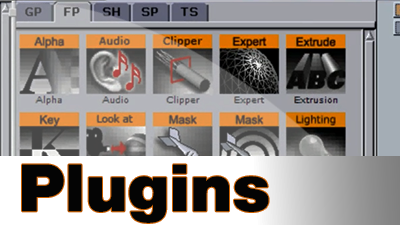
Plugins
The Functions tab holds all of the Functions or plug-ins available to you with in Vizrt Artist. If you click on the Built Ins tab, you are presented with a series of other tabs. This video explains the Function tab in detail.
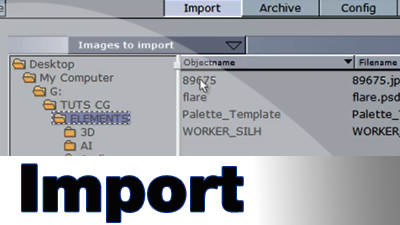
Import Tab
The Import tab allows you to access the import options so you can import your images, 3D objects, fonts or Vizrt Artist archives.
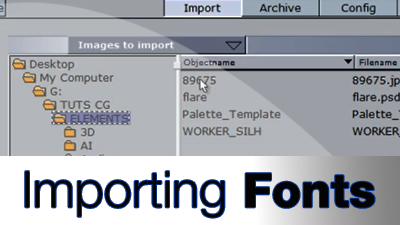
Importing Fonts
This video shows you how to import fonts from the computer into Vizrt Artist.
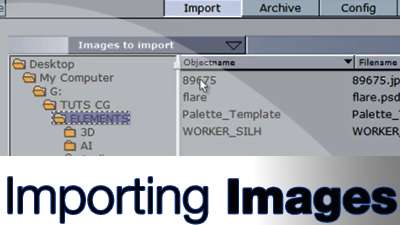
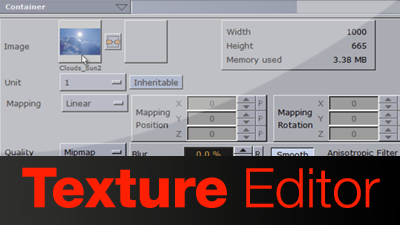
Importing Images
Import Images into the server database via the Import tab on the main tab bar. You are able to import Tiff’s, TGA’s, JPEG’s, PNG’s and Photoshop layered files.
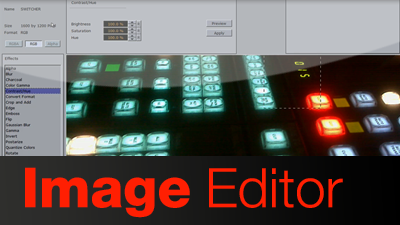
Double click on an image in the server window and you enter the image editor. From here you can manipulate the image through several methods. Watch the video to go through all the options. Using the image editor is a quick and easy way to make changes to an original image in a scene.
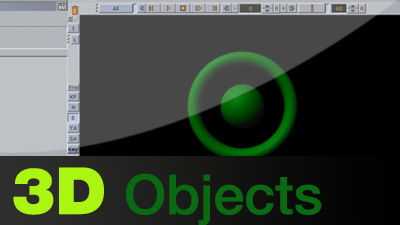
3D Objects
This video discusses importing 3D objects from other programs such a 3D Studio Max, Maya or Cinema 4D. It also shows you how to create 3D objects within Vizrt and save these objects to your server
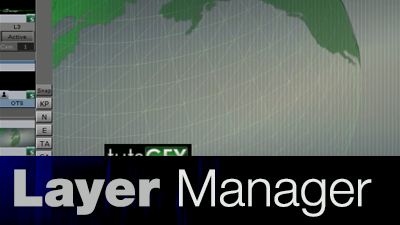
Layer Manager
This video introduces you to layers and layer management with in your scenes. By default there are three layers; a front, middle, and back in which you can stack graphics. This video explains in depth how this works and how you can manage the settings for your scenes.
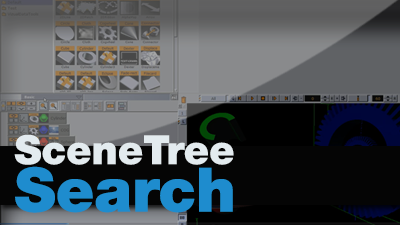
Scene Tree Search
You can search the containers with in the Scene Tree window. Sort by vector list or name. A handy option when many containers are involved in your scene.
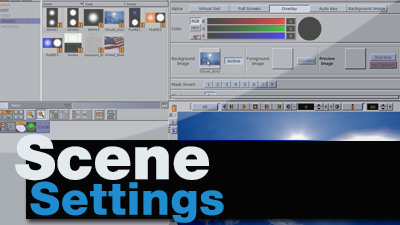
Scene Settings
The Background tab in the Scene Settings not only allows you to change the background color but also access other settings for your scene.

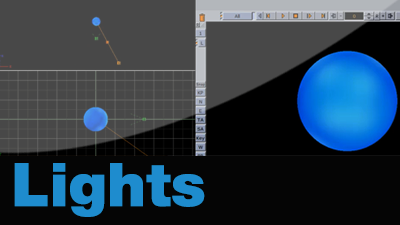
Cameras
You can use up to sixteen cameras in Vizrt Artist. This video shows you all the options when working with cameras with in your scene.
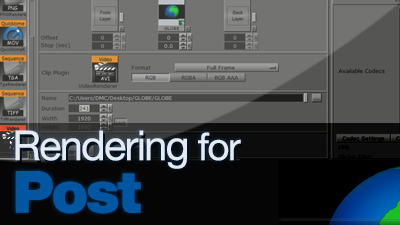
Post Render
This video tutorial shows you how you can render your scenes out into various formats such as .avi, quicktimes or sequences. By using the Post button you set your project to render out into various formats to use in other programs such as after effects or an editing system. This video will also show you how to render out animations with alpha channel included.