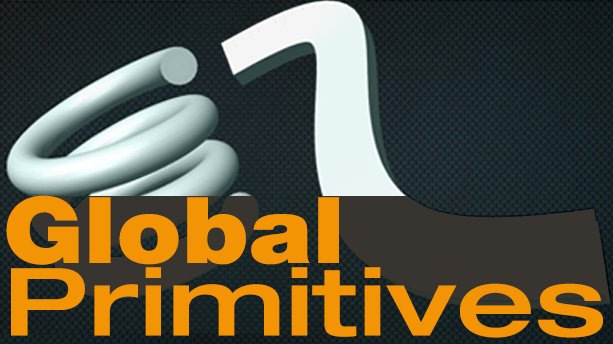
Vizrt Global Primitives
The Vizrt Global Primitives are the built-in 2D & 3D primitives available within Vizrt Artist. Each video below will teach you how to use each particular primitive. The first two videos, Use LOD & Tesselation describe two important concepts you’ll want to know when working with the vizrt global primitives.
The Vizrt Global Primitives are the building blocks of your scene designs. If you don't import 3D objects from other programs, then the vizrt global primitives are what you will use to design your scene. By mapping textures to these vizrt global primitives you will achieve unique design looks.


The use LOD button on Vizrt Primitives stand’s for Level of Detail. You can turn this button on or off in each primitives editor. This is an important setting when it comes to optimizing your scenes and it's a setting that almost every a vizrt global primitives has.
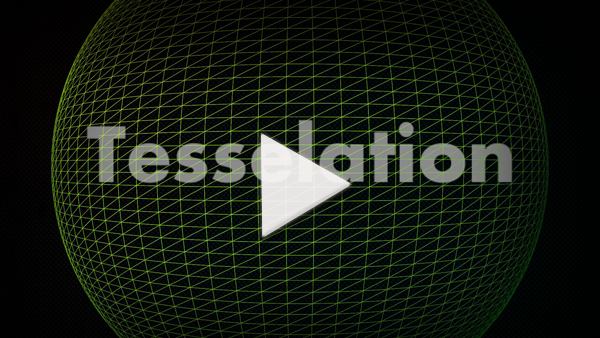
Tesselation allows you to adjust the polygon count of a primitive. Increase the Tesselation to smooth out a primitive, decrease and you make it less smooth. Why would you want to do this? Because the vizrt global primitives can have a lot to do with optimizing your scenes to make sure they truly run in real-time.

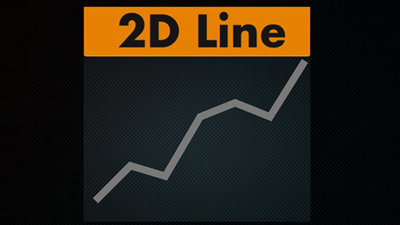
The 2D Line primitive is a 2D object that can be found in the Global Primitives folder. You can build a 2D Line by entering numerical values. Thus creating your own shape; this video shows you how to use the 2D Line primitive.
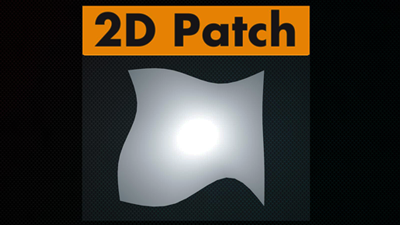
This 2D Primitive allows you to manipulate numerical values to make almost any 2d shape. What’s more, it has an interactive mode, which allows you to drag individual points around in the scene to design your shape. Watch the video to learn all of the functionality with in the 2D Patch.
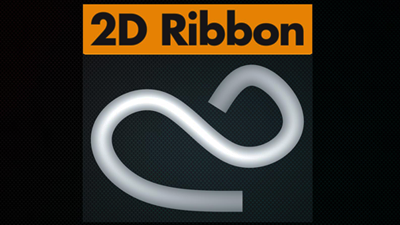
Use the 2D Ribbon to create a path or spline like a ribbon. Use the show point values to create your path or you can drag points around in the Render Window by using the interactive mode. Further modify the ribbon by adding materials and images. This video shows you how it’s done.
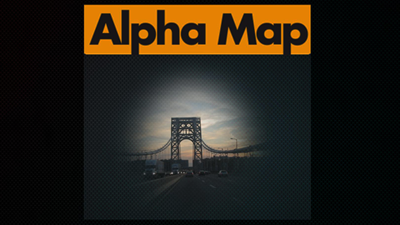
This Vizrt tutorial shows you how to use the Alpha Map. This primitive allows you to create alpha maps by combining images on the container and in the editor. You can use several different options in the editor to achieve the result you want. This video shows you more.
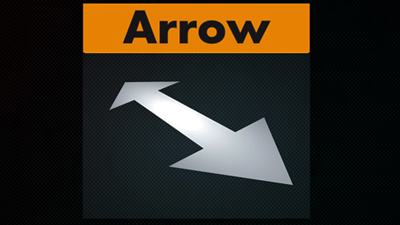
The Arrow is a 2D primitive used to create various sized arrows. Whether it is the width of the arrow or length of the arrow, or no arrows. The editor of this primitive has several different options to manipulate. This video shows you all the variations.
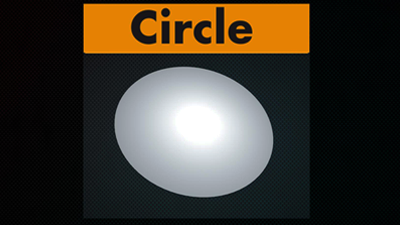
The Circle is a 2D primitive that, as the name suggests, is circular. But, by manipulating the settings in the editor and adding varioius plugins you can achieve different shapes. This video will show you more.

The Cogwheel is one of the most versatile 3D Vizrt global primitives, which allows you to make a lot of different shapes. With settings such as corners, height and tooth height, the variations are almost endless. The video walks you through the different settings for the Cogwheel and shows you all the possibilities that are available.
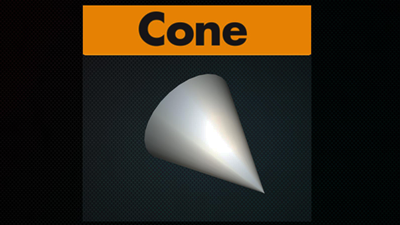
The Cone primitive is a 3D object that you can manipulate in several ways to achieve different looks. By using settings like show bottom, rounded tip and smooth you can make more than just a cone. This video shows you all the options in the editor and explains how you use each one to achieve the look you want.
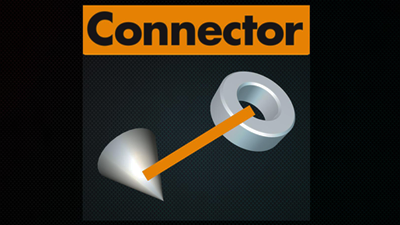
This primitive allows you to connect one primitive with another. It works by dragging and dropping the relative containers into the correct drop boxes. By adding animation to the scene you can keep your primitives connected where ever they move. This video shows you how it works.

The cube is a 3D primitive that you can manipulate in several ways to achieve different designs. With settings such as adaptive tesselation, bevel and rounded bevel you can achieve more than just an sharp cube. You can even turn off certain sides of the cube if you need to see inside of it. This video explains everything there is about the cube.
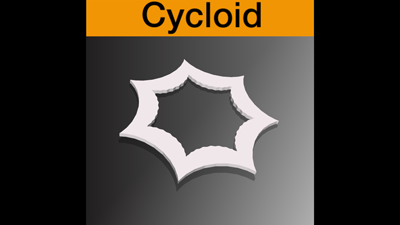
The Cycloid is a 2D plugin that allows you to create various shapes that are smooth and curved or angled sharp. What's more the geometry can be extruded to create a 3D object.
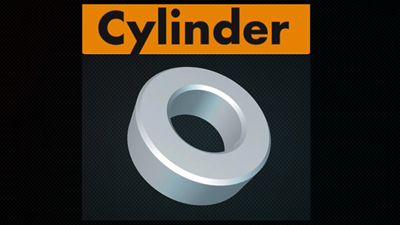
The Cylinder is a 3D primitive that allows you to adjust the height, radius and other parameters to achieve to different cylindrical looks. What’s the difference between the cylinder and the cylinder 3 primitive? This movie shows you.
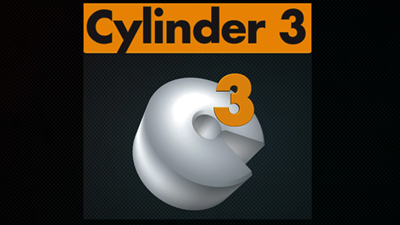
The Cylinder 3 primitive is like the Cylinder primitive except for some additional options. The video shows you the difference, but also shows you all the individual parameters you can use to achieve different looks and functionality.
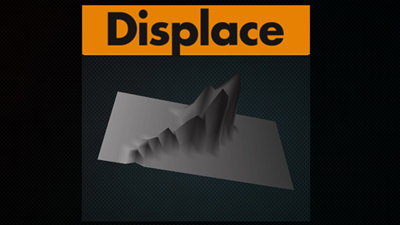
The Displace primitive acts like a displacement map allowing you to use an image to create a displacement. By dragging the right kind of image onto the primitive, it allows you to create an extrusion or displacement. Further more you can also key-frame the parameters to animate the displacement, creating a waving motion.
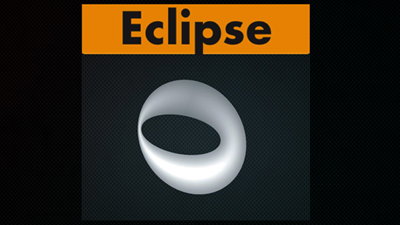
The Eclipse is a 2D primitive that allows you to create very unique shapes based on the editor. With options to adjust each individual radius the eclipse can be used to create shapes unique in design. Watch the video as it explains more.
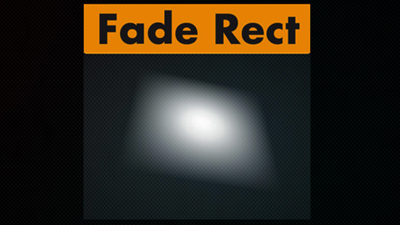
The Fade Rectangle is a 2D Primitive that lets you fade the edges of a rectangle. Though the differences are subtle between the Fade Rectangle and the rectangle: the Fade Rectangle allows you to adjust individual sides of the rectangle to achieve a total different look than the rectangle. The video shows you other options inside the Fade Rectangle Editor.
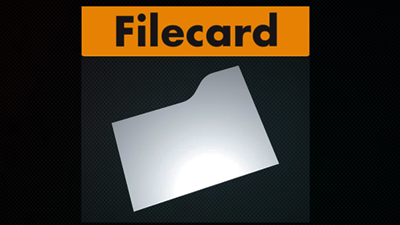
The Filecard is a 2D primitive that has a setting to adjust a tab like element in the shape. By manipulating this setting you can achieve many different combination looks. The video explains all of the options
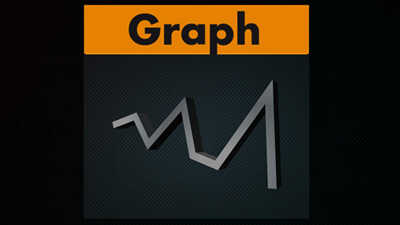
Using this Graph plugin is just one way to create a line graph within Vizrt Artist. The Graph gives you the ability to control each individual X and Y point. By manipulating the numerical values within the editor you can set the points to match any set of data. There are numerous other settings in the editor to achieve certain design aesthetics as well.
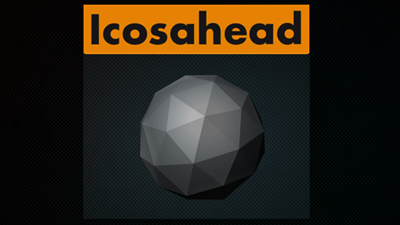
The Icosahedron is a 3D primitive that will allow you to create a multi-faceted or multi-sided object. You can turn the smoothing on or off to create the look you want. After watching the video, you’ll notice how the Icosahedron uses the tesselation setting a bit differently than other primitives.
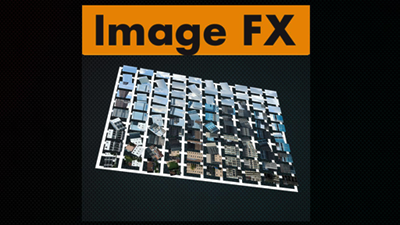
The Image FX primitive allows you to create your own transitions between images. You do this by manipulating the wide variety of settings within the Image FX editor. Though this primitive can get quite involved with all the built-in tools, it does allow you to create a wide variety of dramatic designs.

The Noggi is a 2D primitive that allows many options when it comes to design. More than just another way to create rectangles: it allows you to individually bevel each corner. It also has a skew setting so you can adjust the angle of the corners. See how all the settings come together in this video. The Noggi is one of the most versatile vizrt global primitives.
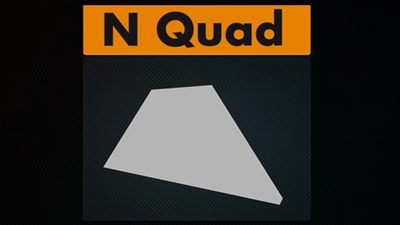
The Nquad is a versatile 2d primitive in that many of the built-in settings allow you to manipulate it into the shape you need. By using the settings such as shearing, top/left/width, depth and crop functions you can achieve designs beyond just the default rectangle. The video explores all of the settings withing the NQuad.
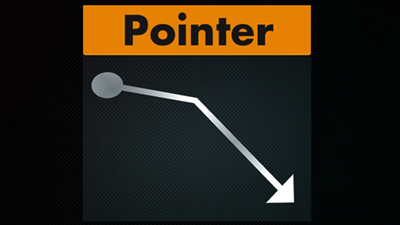
The Pointer is a 2d primitive that has many built-in variables to help you achieve a pointing line. By adjusting the point variables you can set your angle of the line, then further adjust the design with settings such as: cap style, length and radius. The video explores all the options and puts it together.
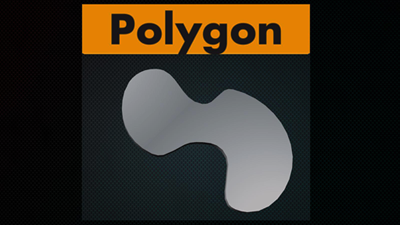
The Polygon primitive, not only lets you draw your own shape via pen tool, it is also the only way to import Adobe Illustrator files into Vizrt Artist. Though similar in theory to the pen tools in Adobe Illustrator or Photoshop; the use will vary a bit. What ever spline you import or create, can further be manipulated through a series of right clicks within the editing window. This video will show you all the options when it comes to creating splines within the editor. This video will also cover how to import Illustrator files into Vizrt Artist.
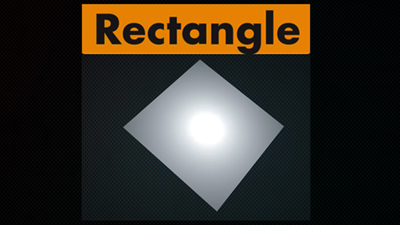
This 2D primitive has several options when it comes to manipulating the design. It is the only primitive that has it’s own built in color generator, enabling you to create gradients. By using the bevel and corners you can further manipulate the rectangle to match your needs.

RFx Smoke is the particle generator in Vizrt Artist. The settings are wide and varied but this video tutorial begins by showing you first how to correctly map an image on this primitive to achieve the look you want. Beyond the mapping this video goes in-depth about the various other settings within the RFxSmoke.
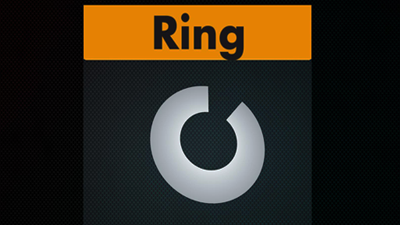
The Ring is a 2d primitive that can be used to create various sizes of rings and circles by adjusting the inner and outer radius’. You can further manipulate the look of the rings by adjusting the angle and rotation.
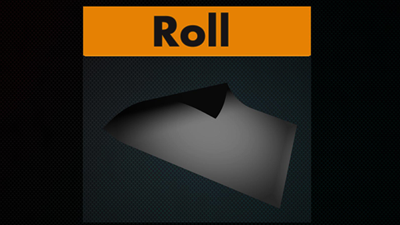
The Roll primitive looks like a rectangle when you first drag it into your scene. But by adjusting the time, you can have this rectangle roll up or down. You can further adjust the design by manipulating the angle and diameter.
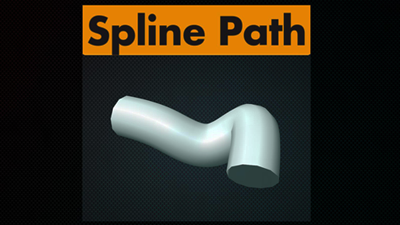
The Spline Path primitive lets you create a path with a spline. By adjusting the nodes and the x,y and z variables, you can map out a your own path for this spline. This video shows you how to build the spline path and how to further manipulate it with additional options in the editor.
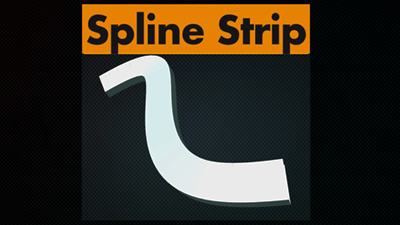
The Spline Strip is a 3D primitive used to create loft extrusions. Though extensive in its settings, this tool can be set up in a few keystrokes in the path node index. This tool also has an interactive mode, which will allow you to further modify your points by a click and drag.
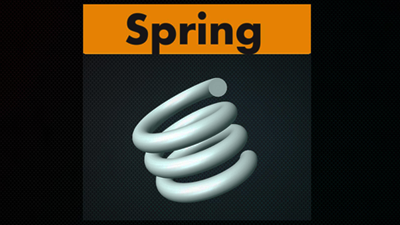
A 3D primitive, the Spring allows you to adjust parameters such as angle, height and number of turns to produce a spring. The video shows you all of the other options available within the spring. Options that allow you to create shapes other than just a spring.
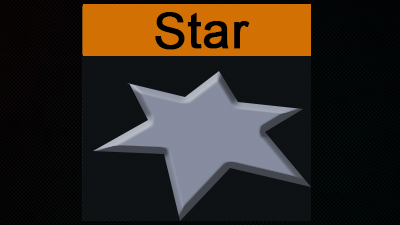
The Star primitive is a 2D primitive that can be used to create star shapes with any number of points and/or variations. Using the settings within the editor will allow you to create many different star shapes.
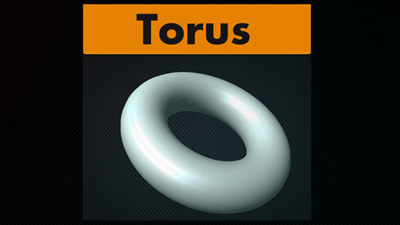
The Torus is a 3D primitive with several settings to adjust the size and radius of the shape. To see the results of each setting, it’s best to drop a material or image on the Torus so it picks up the shading.
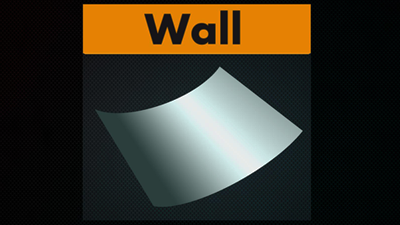
The Wall is a rectangular-curved primitive that allows you to adjust the width and height to achieve the size you want. You can make further adjustments to the curvature of the shape by manipulating the depth and angle.
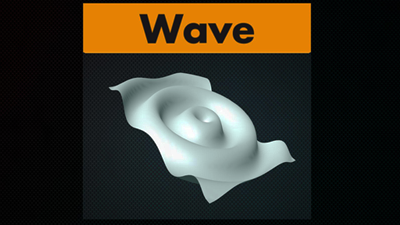
The Wave primitive creates a ripple effect on a rectangle shaped object. Through manipulation of many of the various settings, such as time, reference point and wave length, you can create animations relative to waving elements such as flags. This video shows you all of the settings and gets you started on how to start using the Wave primitive..
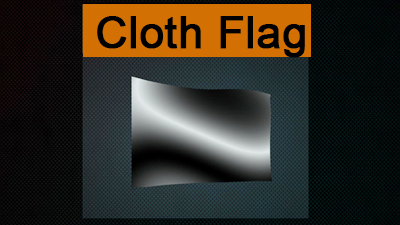
The Cloth Flag primitive is a way to make a waving flag. The different parameters within the editor allow you to adjust the settings and make the waving motion to fit your needs. What's more you can add an image and materials onto this cloth flag to make it more realistic looking.